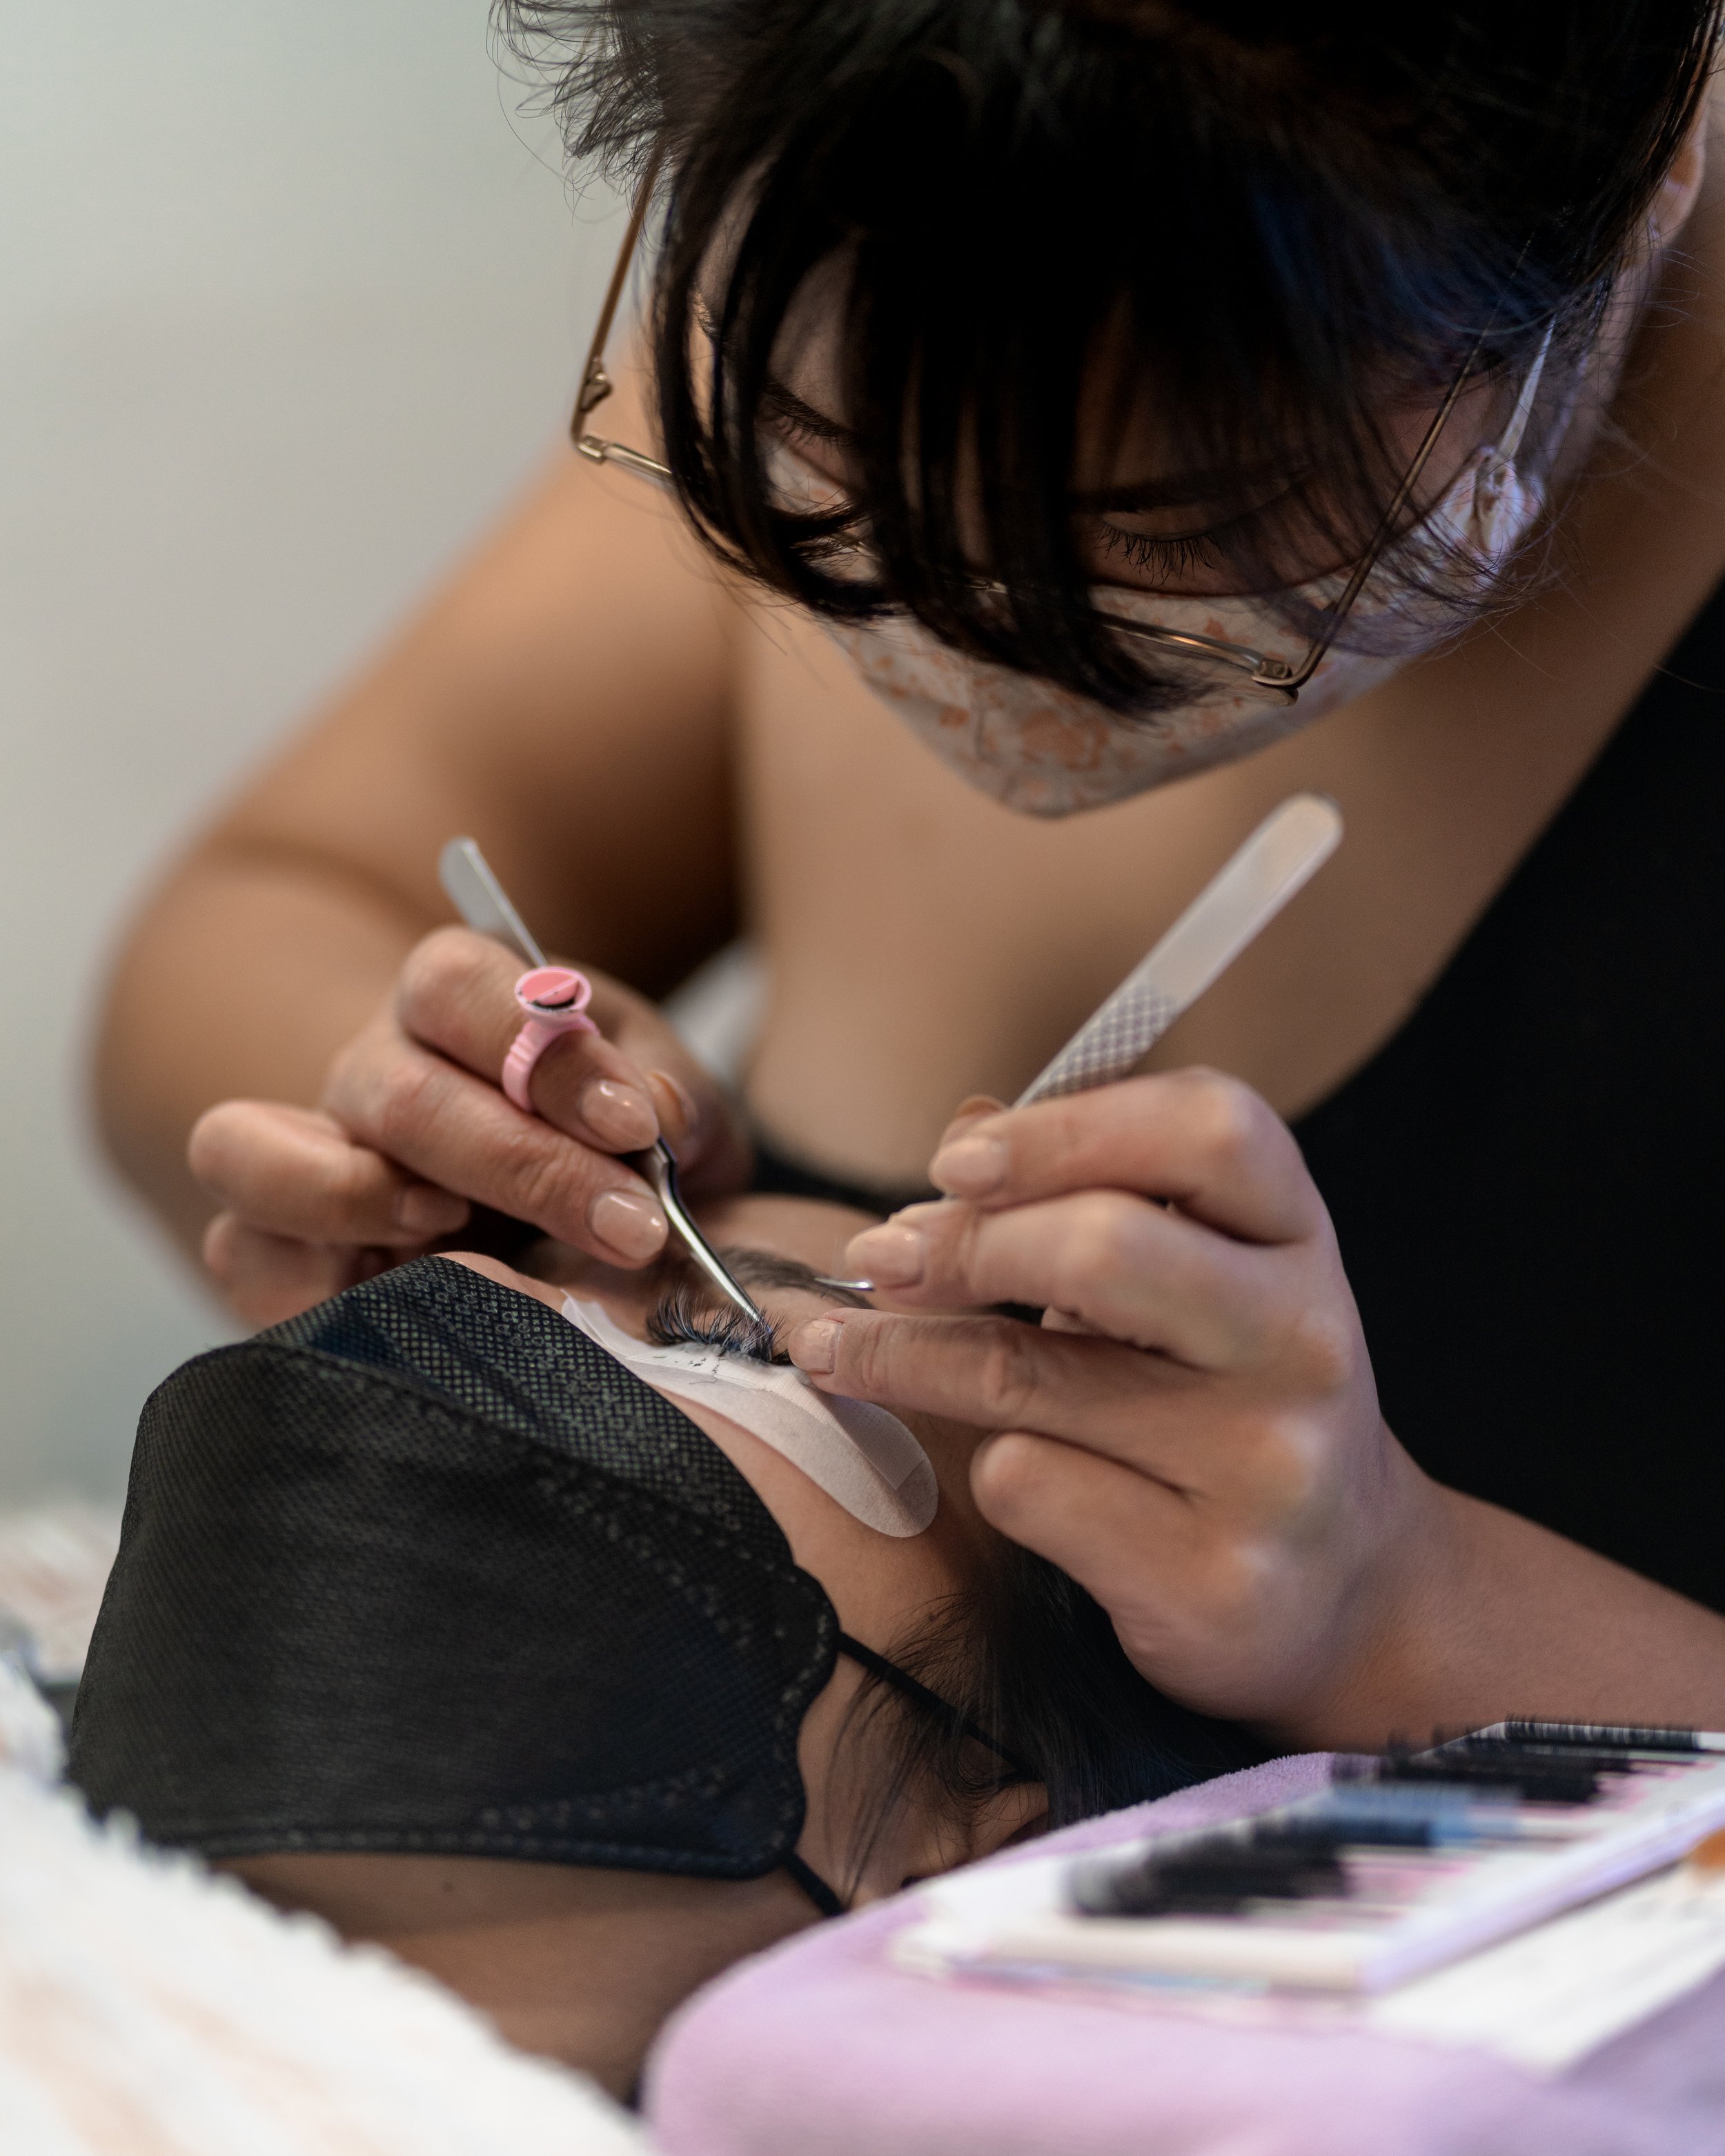
The Application Process
Curious about what your artist is doing while your eyes are closed? Read the full process below.
Here's a step-by-step guide to the lash extension application process:
Step 1: Consultation
Begin with a consultation to discuss the client's desired look and any allergies or sensitivities they may have. This is also the time to choose the type, length, and curl of the lash extensions. If you have any reference/inspo pictures for the look you desire, feel free to share them. It helps to have a visual since lash jargon can be confusing sometimes and words like “wispy” can mean different things between a client and artist and even 2 different artists.
Click here to see the full service list here.
Step 2: Clean and prep
Cleanse the client's natural lashes to remove any oil, makeup, or residue, using the Dreamy Lash Bath and warm, clean water.
Apply under eye pads and medical tape to separate the bottom lashes from the top.
Step 3: Isolate Natural Lashes
Using tweezers, I isolate each individual natural lash.
Ensuring proper isolation prevents lashes from sticking together during the application.
Step 4: Application of Adhesive + placing the extensions
Each false eyelash fiber is picked up, or in cases of volume and hybrid sets, crafted into a custom fan. I take into consideration the weight and length of the extension so it will not weigh down or damage the natural eyelash.
Making sure to use a minimal amount, the eyelash is dipped in professional-grade adhesive.
Gently apply the base of the extension to the natural lash, 1 millimeter away from the skin to allow normal growth of the eyelash extension and to not irritate the skin.
Allow a few seconds for the adhesive to become tacky, polymerize and cure.
Step 5: Continue the Process
Repeat the above steps for each natural lash, ensuring that the extensions are evenly distributed and appropriately spaced until 100% full coverage.
I check different angles of the lashes with my mirror frequently to make sure that they look good from various angles.
Throughout the process, I comb through to make sure there are no “stickies” (eyelash extensions stuck to one another or the under eye pad), making sure the eyelashes are adhering and curing properly.
Step 6: Final Steps
To finish off the process, I fan the lashes to help disperse any residual fumes from the adhesive and expedite the curing process. This makes sure the client can leave feeling comfortable in their new extensions.
Step 7: Discussing Aftercare
It’s my responsibility to educate the client about proper eyelash extension aftercare so they can maintain good eye health and know maximize their retention. Before you leave, you should feel confident in being able to care for you eyelashes.
If you’re interested in learning about eyelash extension aftercare ahead of time, read the full instructions here.


